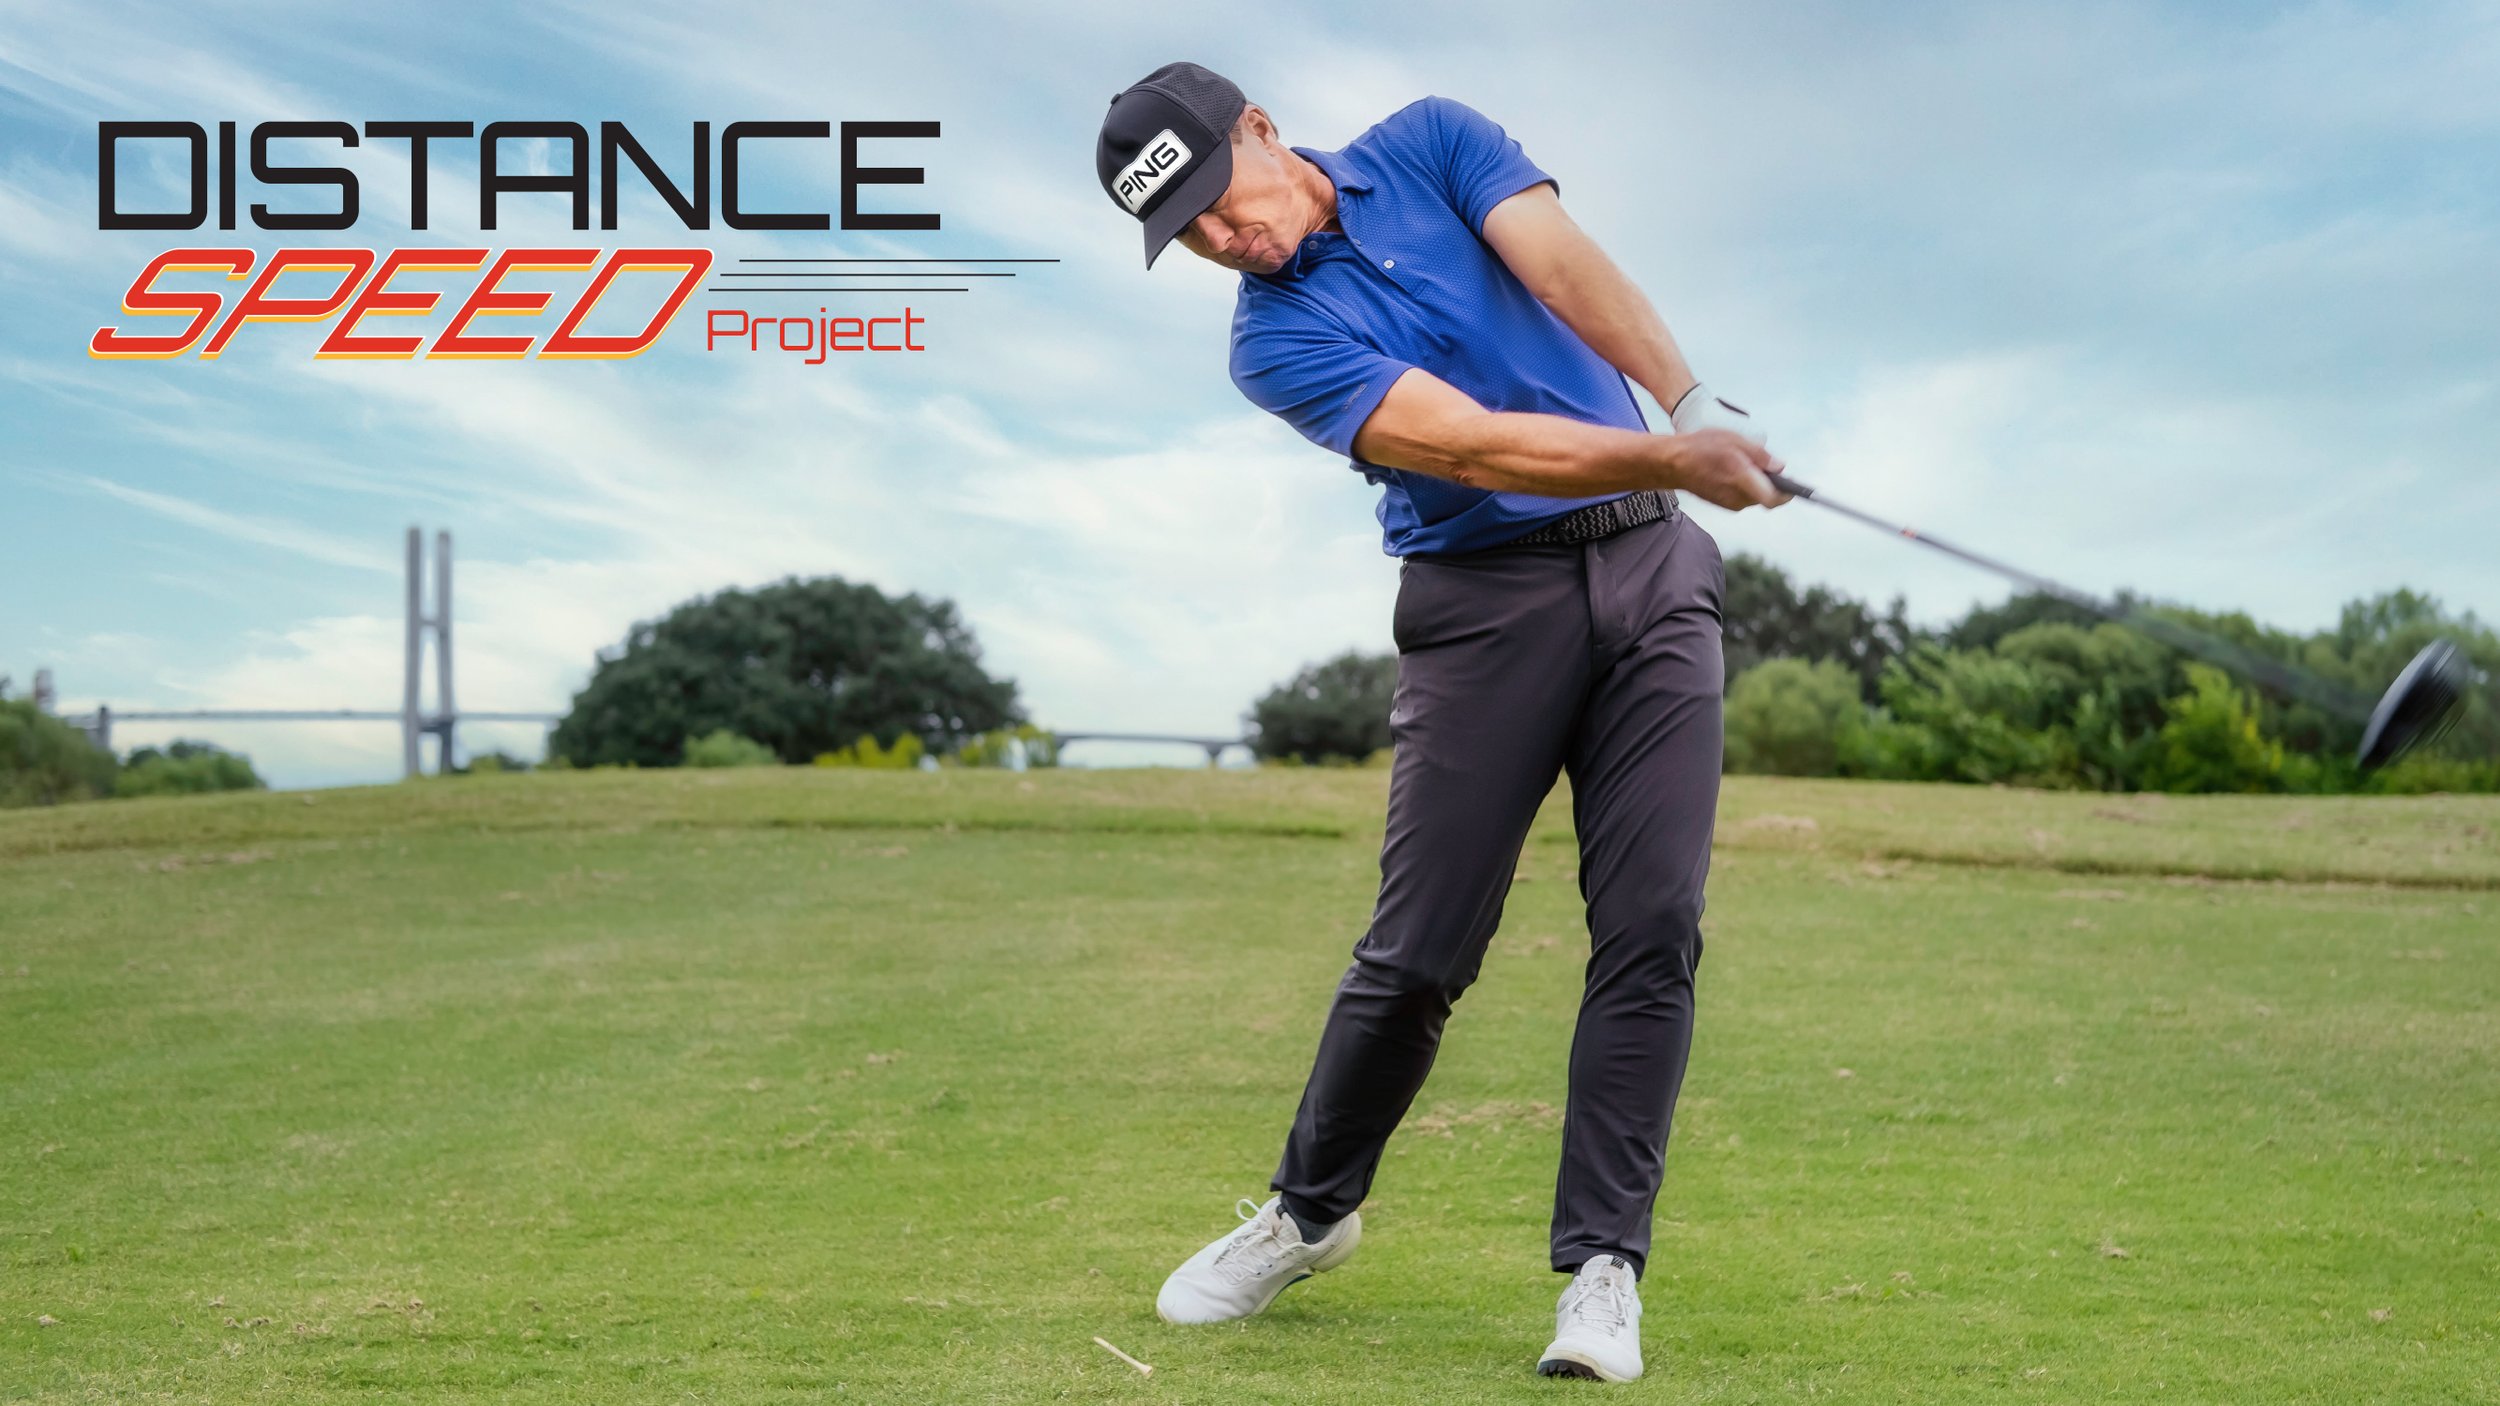
All You Need to Get Longer
/When it comes down to it there are only a few simple things we can do to get longer off the tee and it truly comes down to physics. We can either be more efficient with the speed that we currently possess or learn to move the clubhead faster through impact. The following video addresses both elements and goes into greater detail…
We have the following important elements to tap into if we’d like to hit the ball longer off the tee, and yes, we all would…
Improved Efficiency
Impact Location
Use a powder based spray like foot spray or dry shampoo to get the feedback you need regarding where you are striking the ball on the club face. Practice with the spray on a regular basis to improve your strike quality and energy transfer from clubhead speed into ball speed.
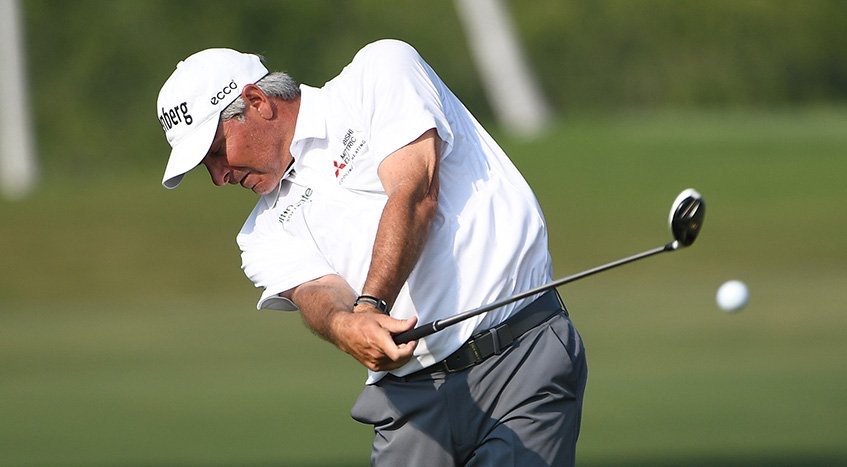
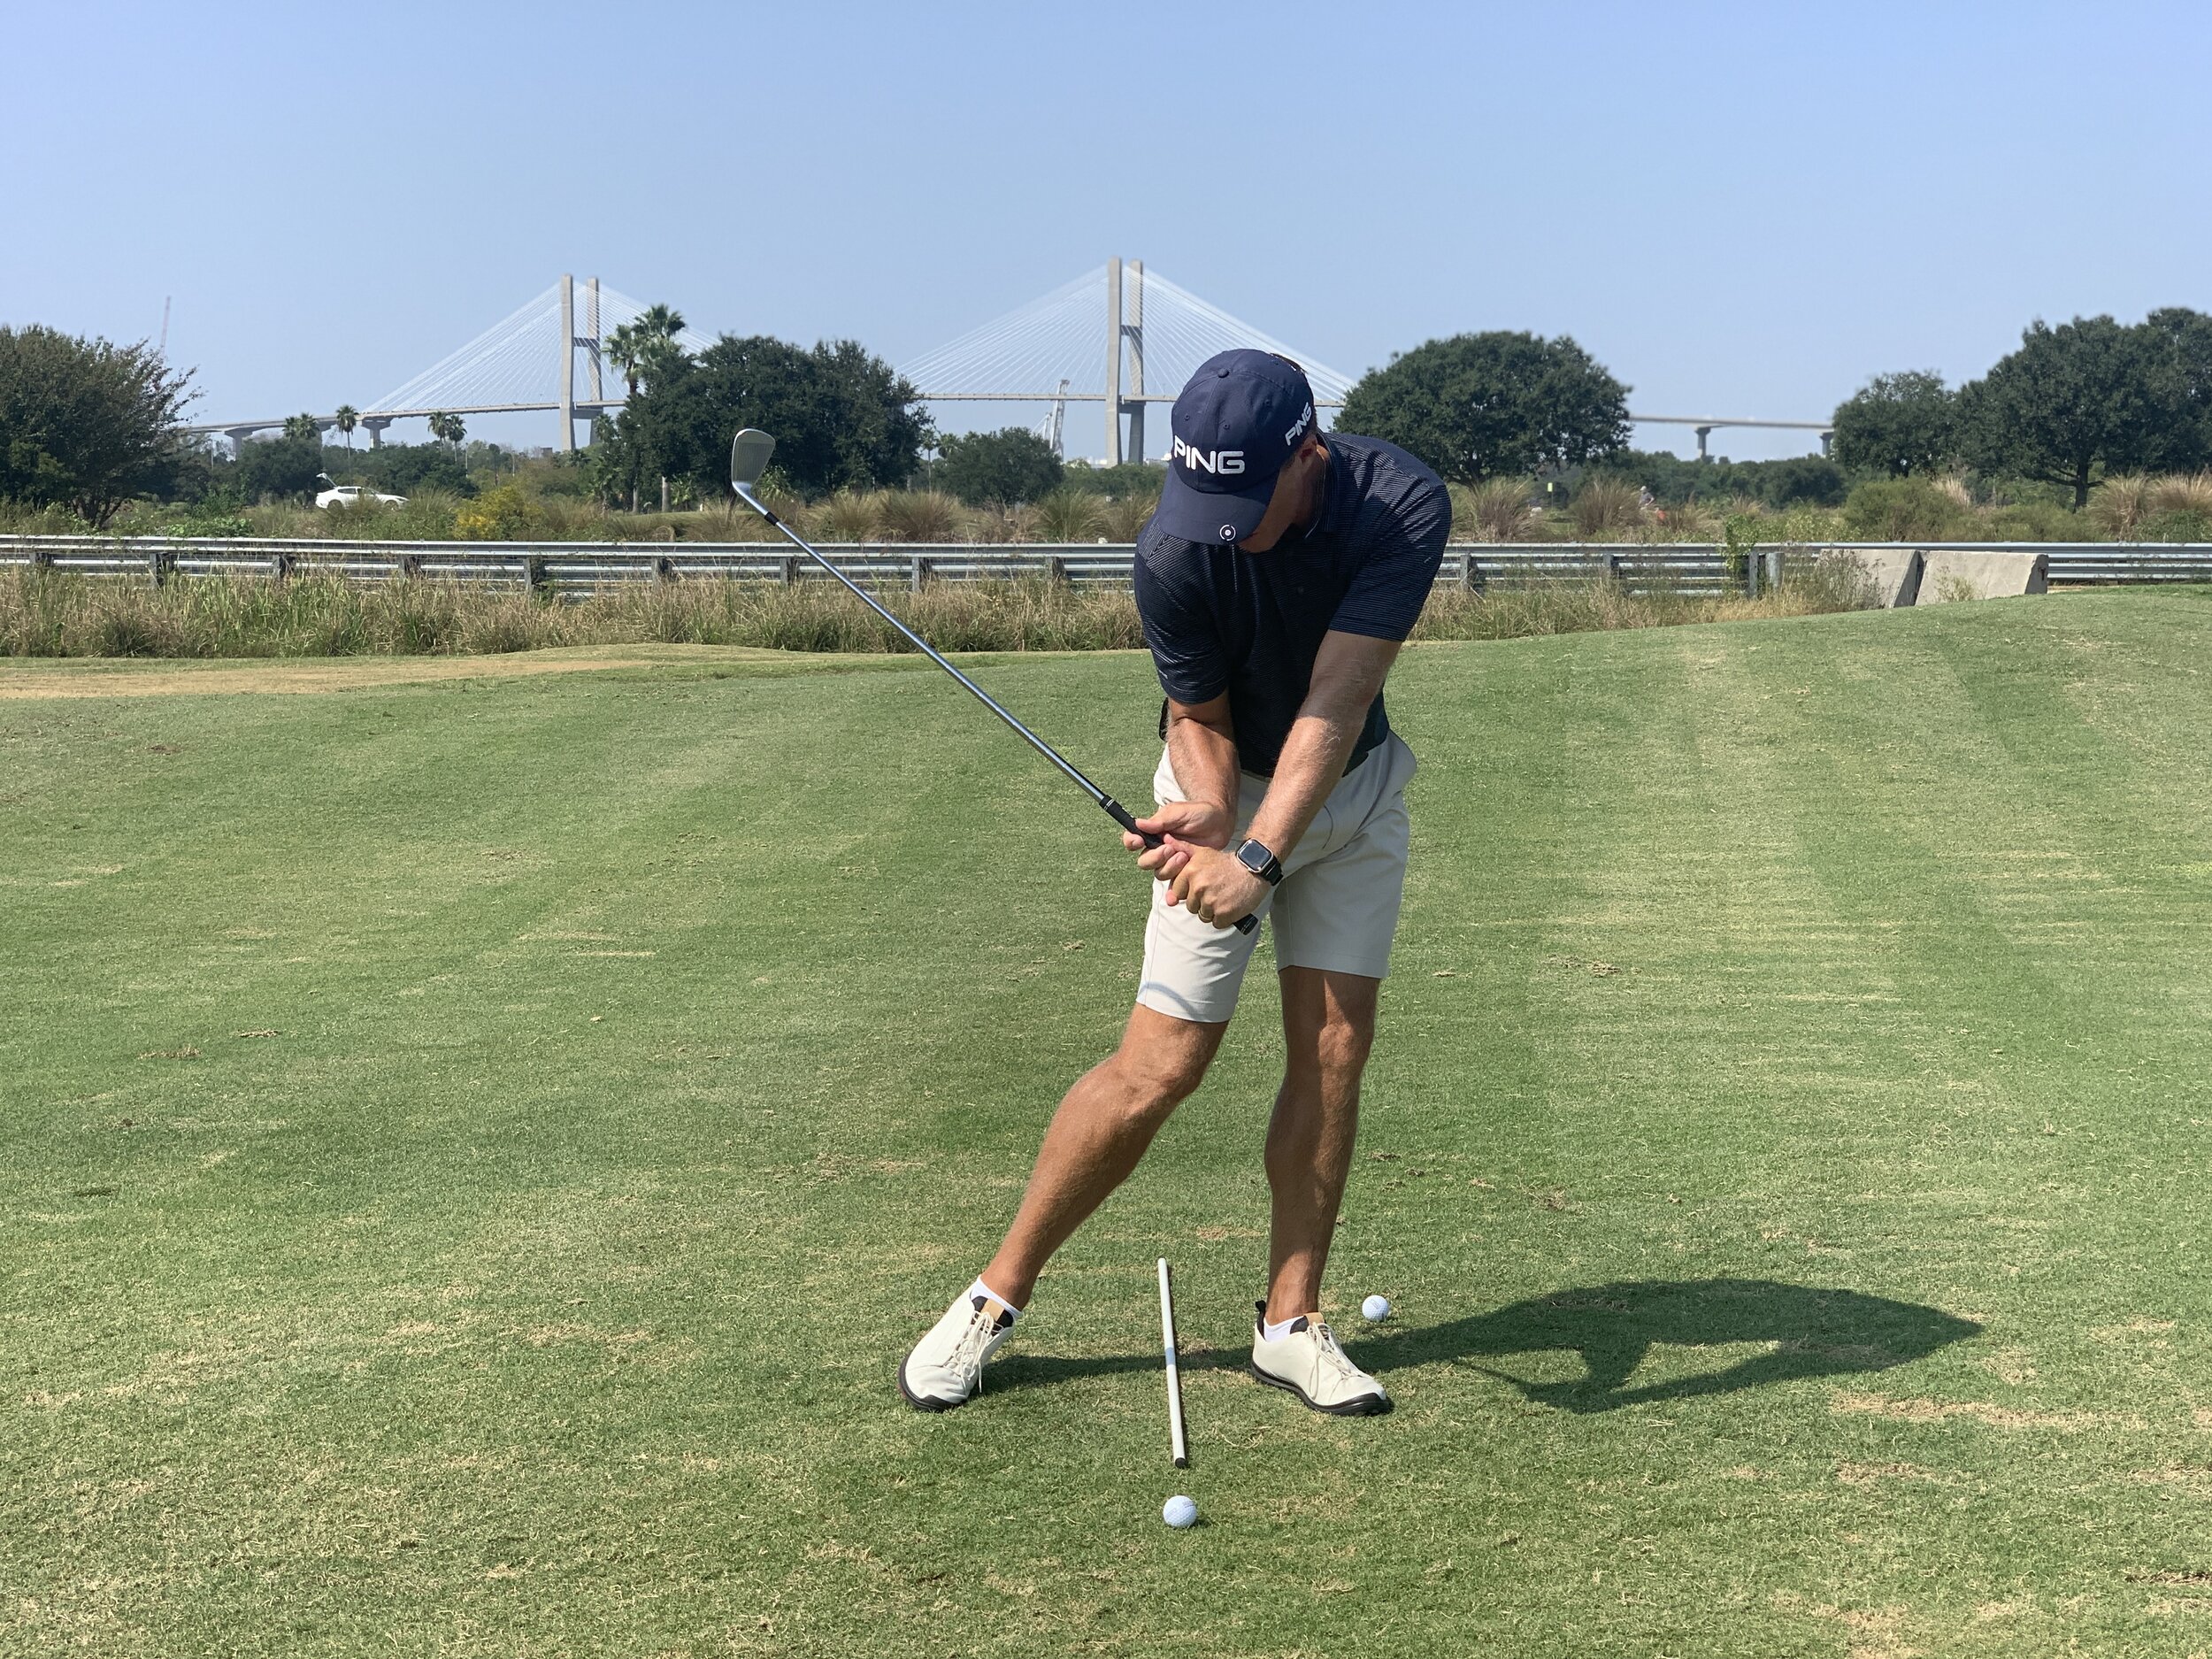
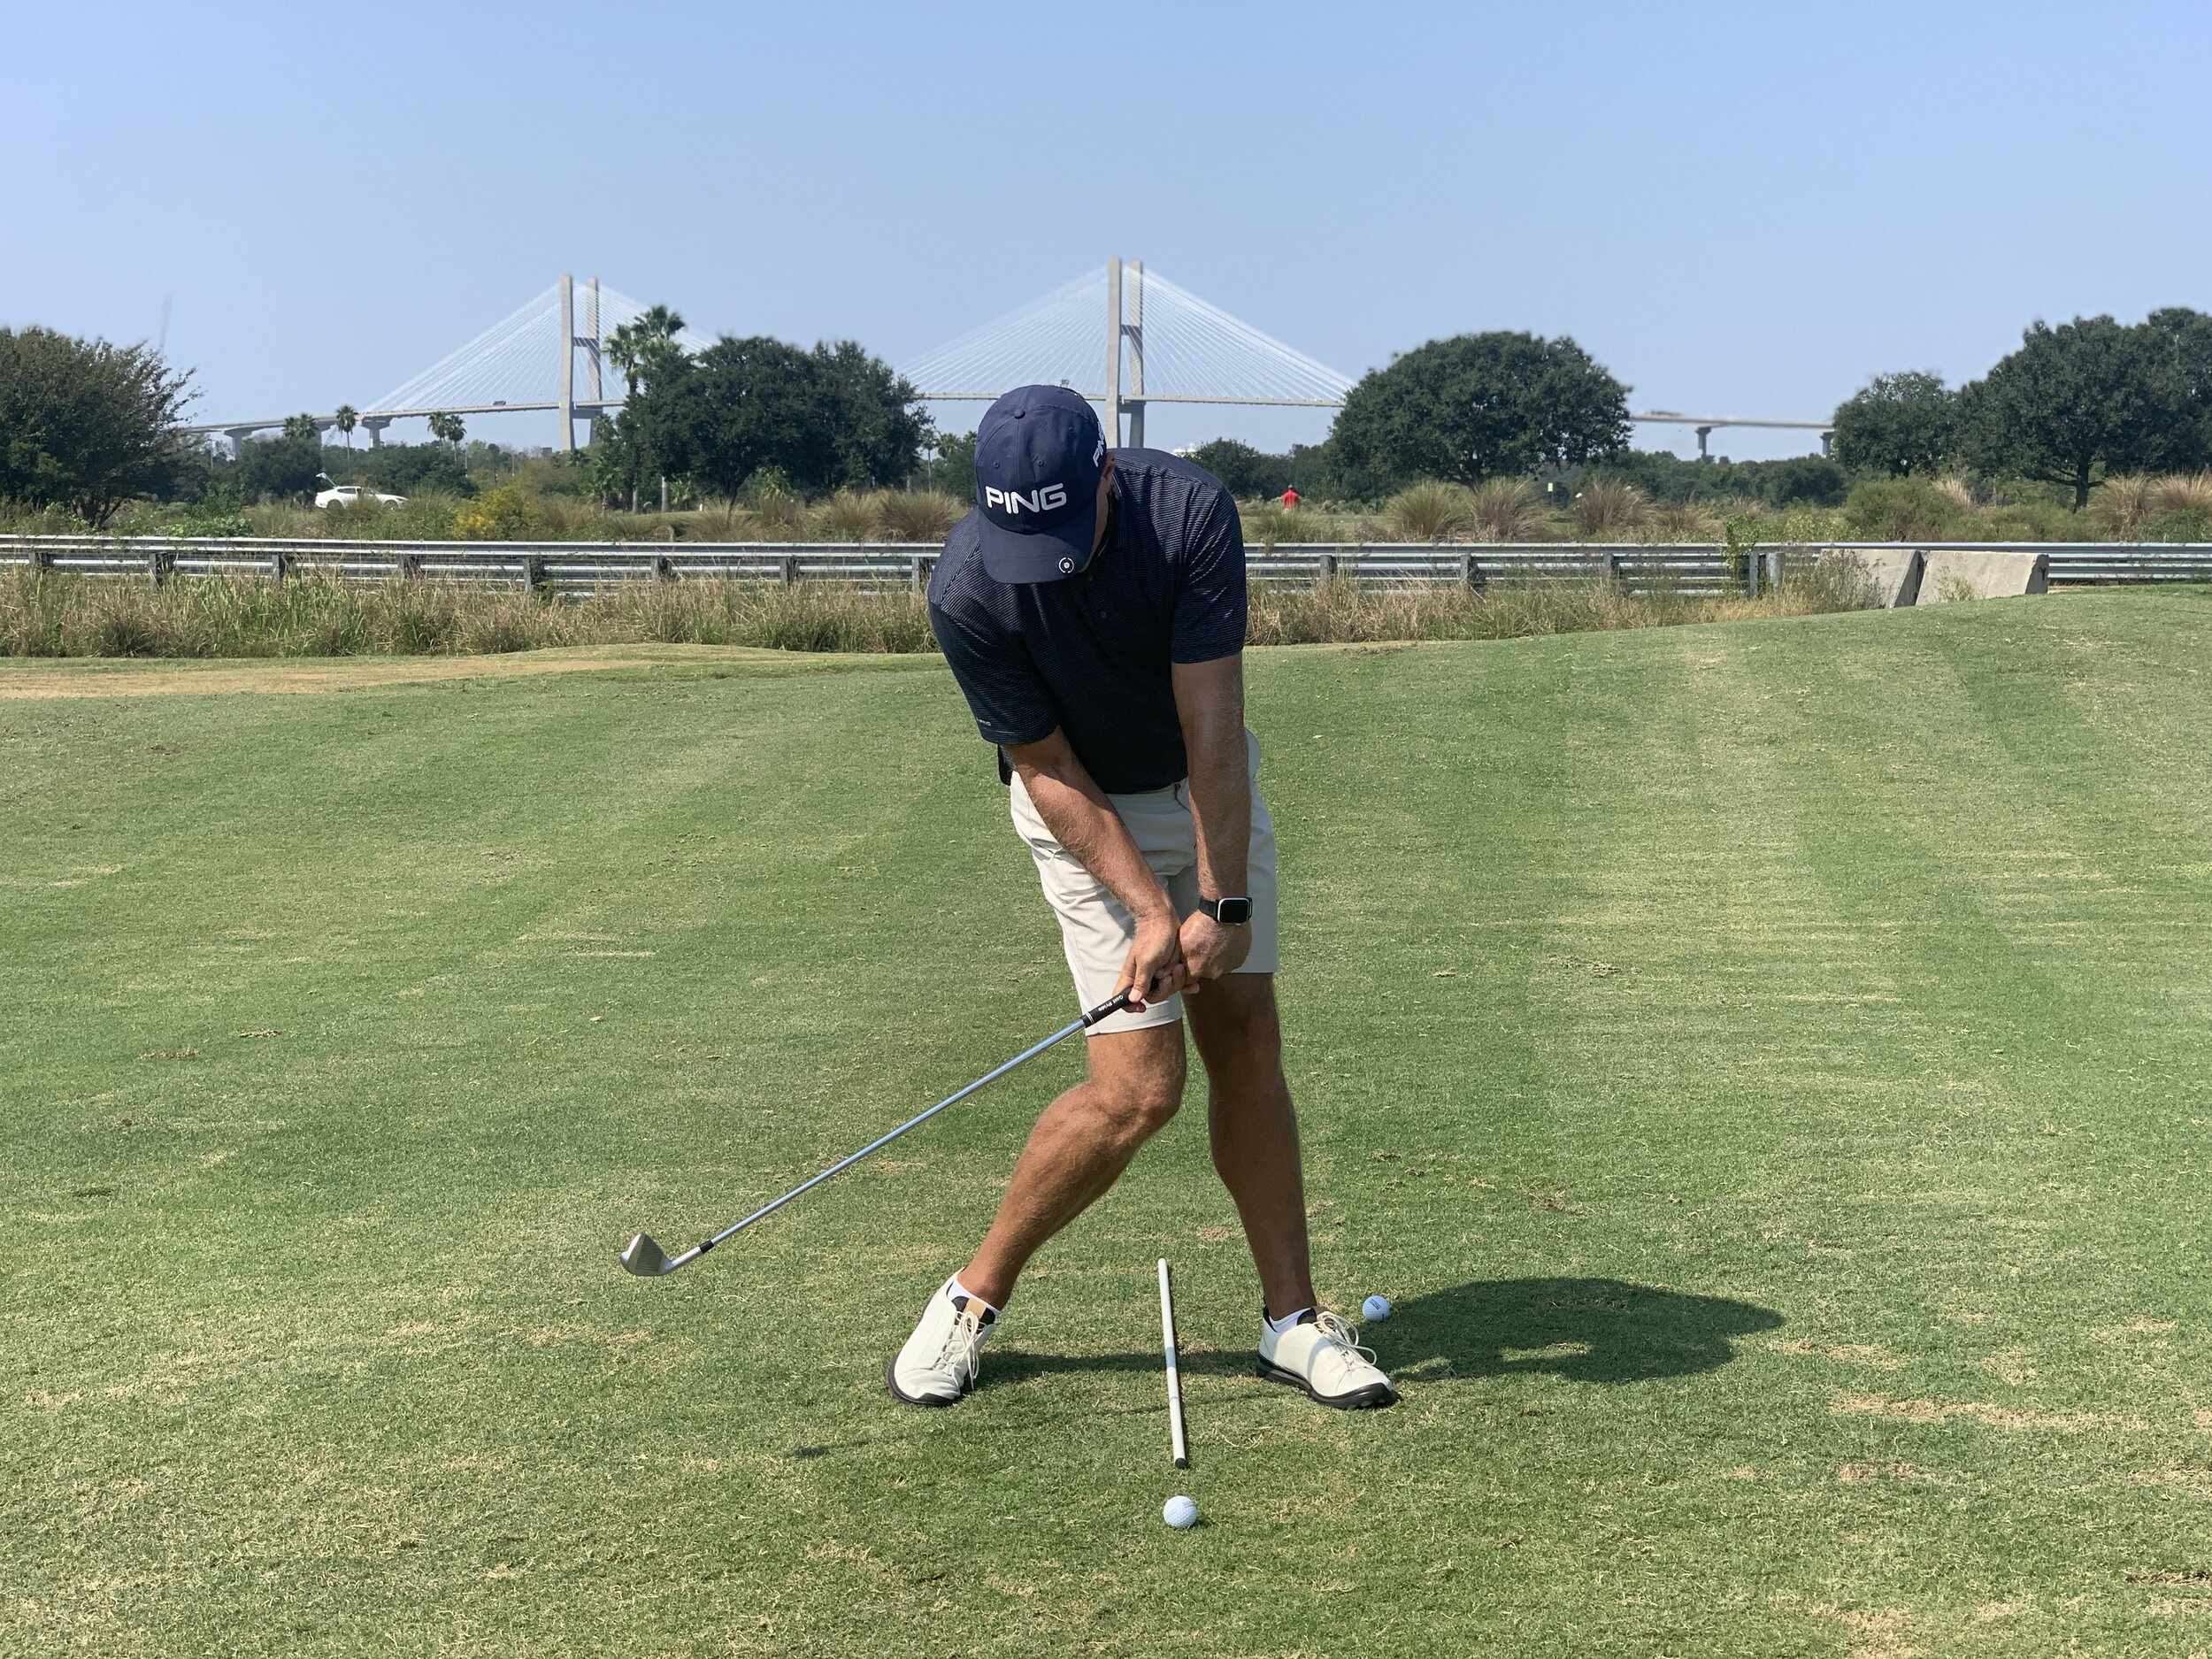
Club Delivery
This important element is a product of the direction the clubhead is traveling as it runs into the back of the golf ball. For maximum distance the ideal delivery occurs when the clubhead is traveling straight, which means it has very little in-to-out or out-to-in bias and slightly upward. I have found that the best attack angle range is somewhere between 2 and 5 degrees upward. Anything more than that will most likely compromise a player’s ability to strike the ball properly.
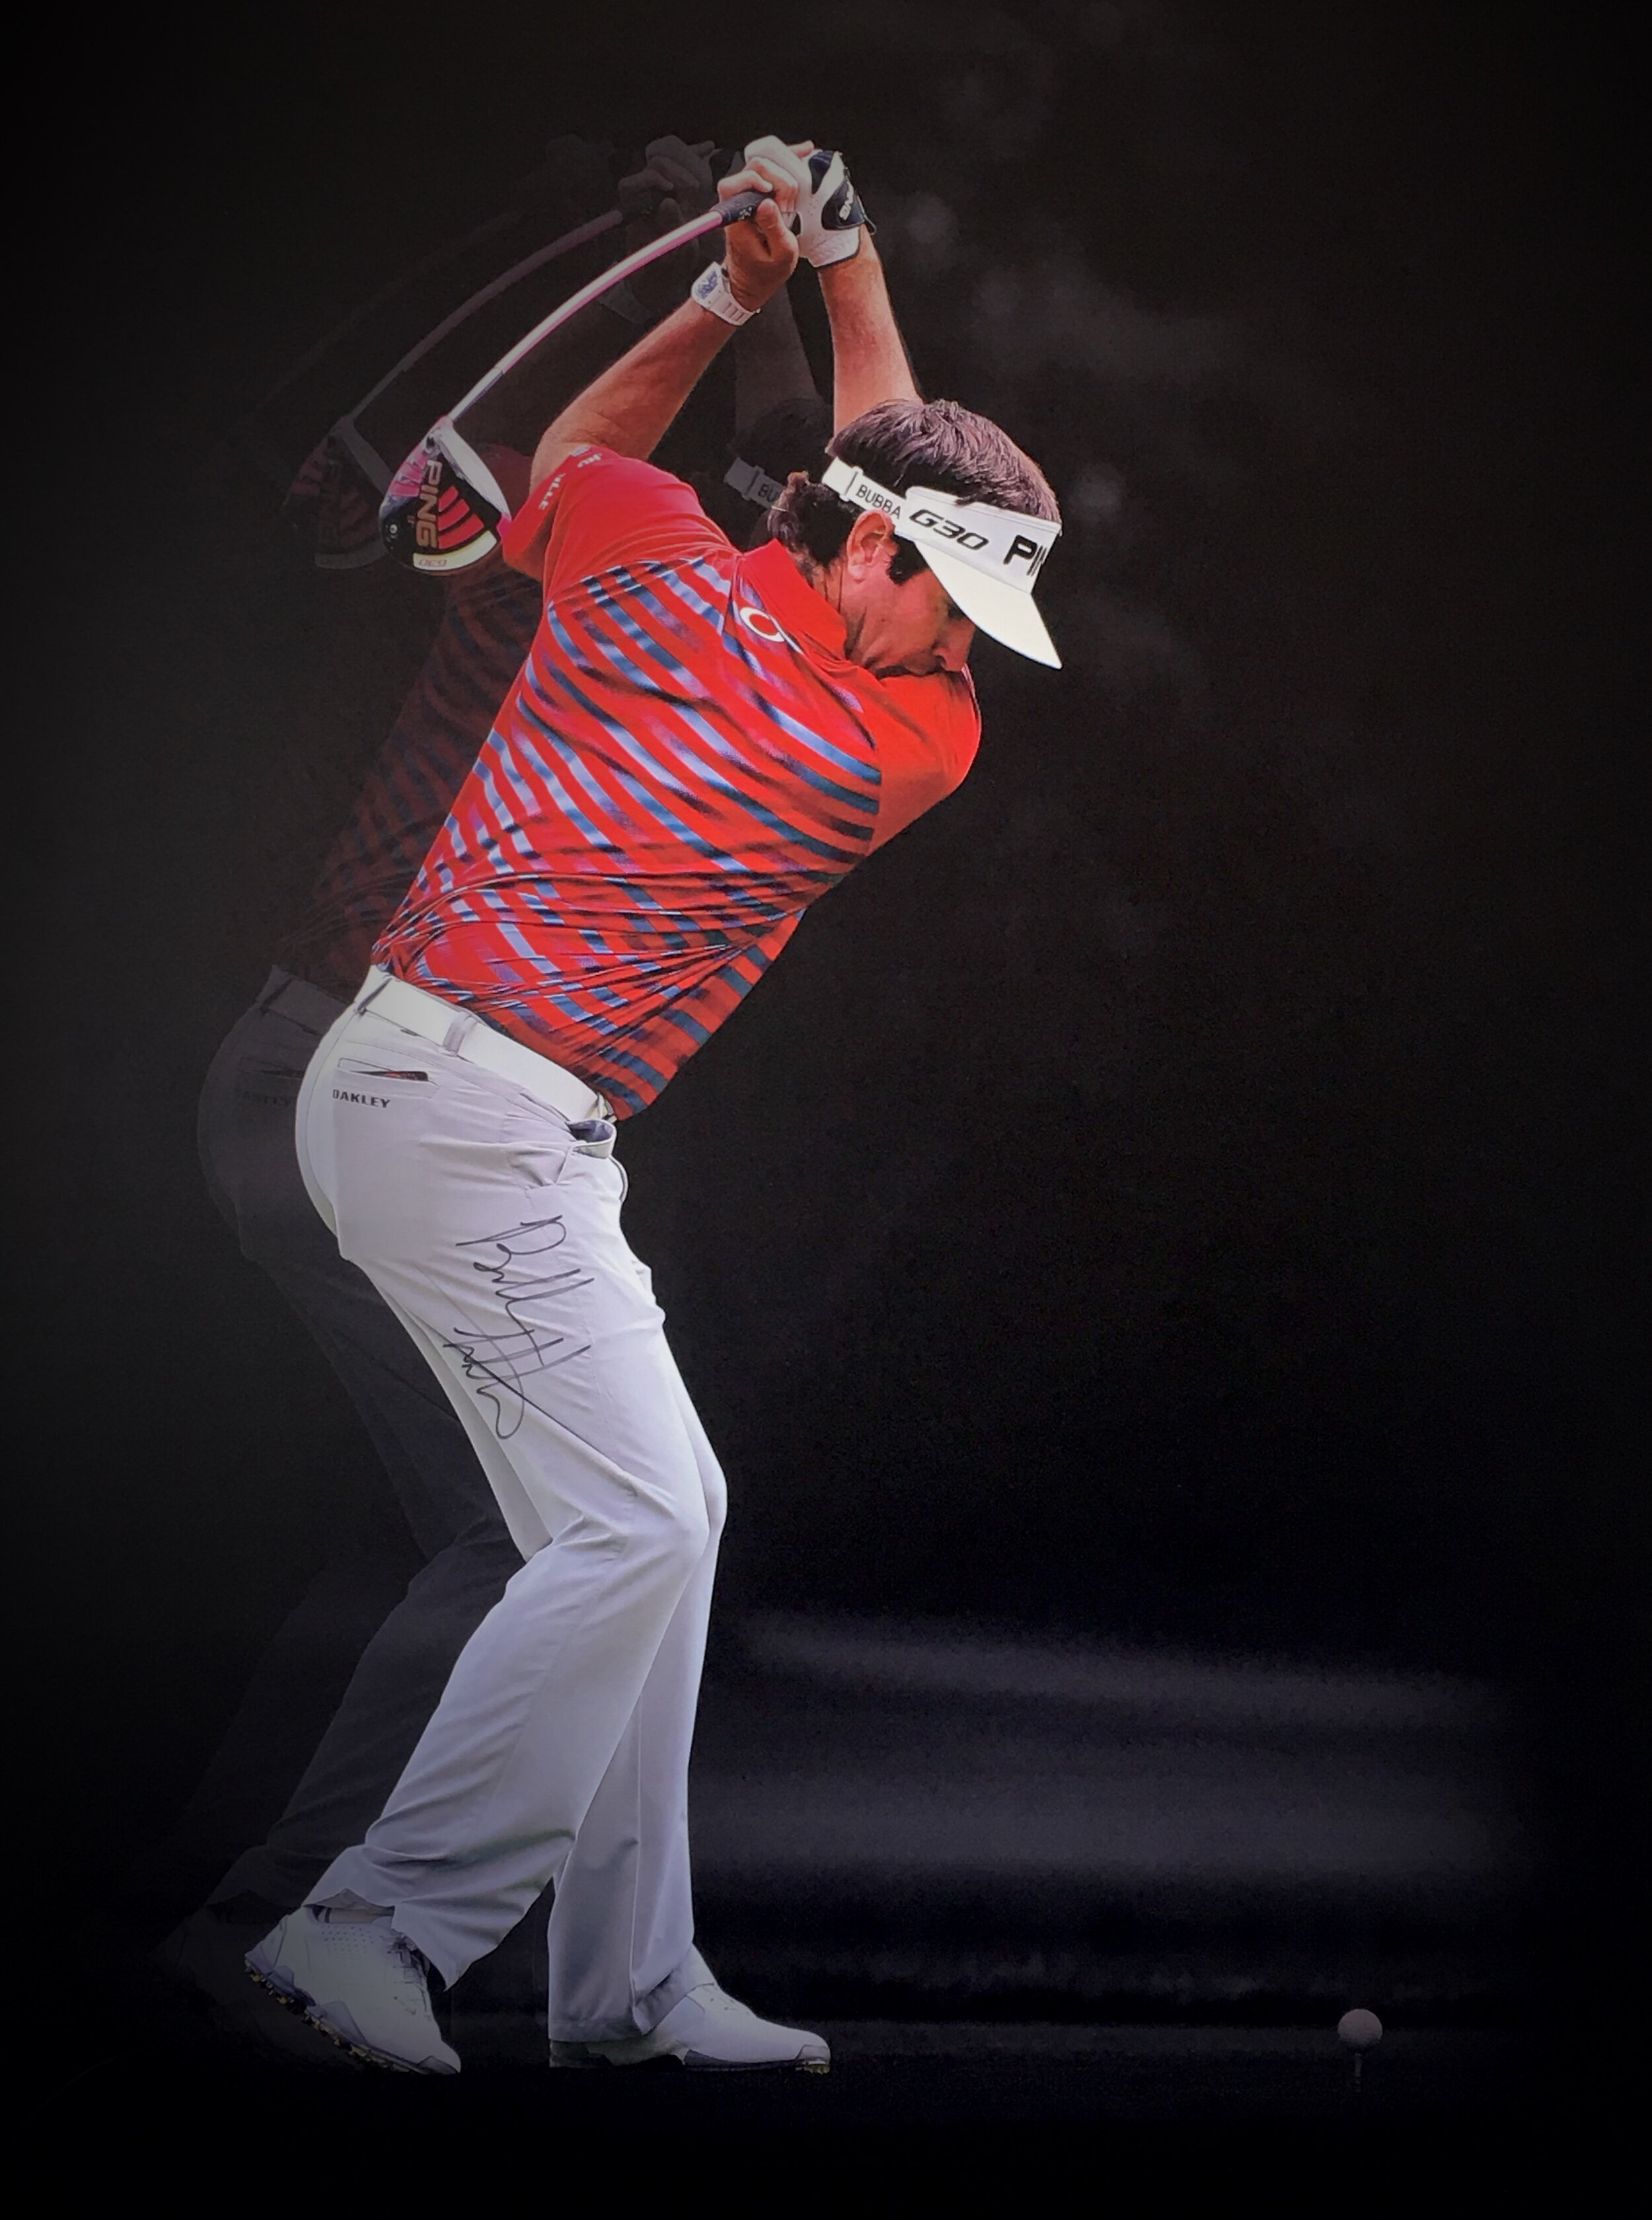
Faster Club Speed
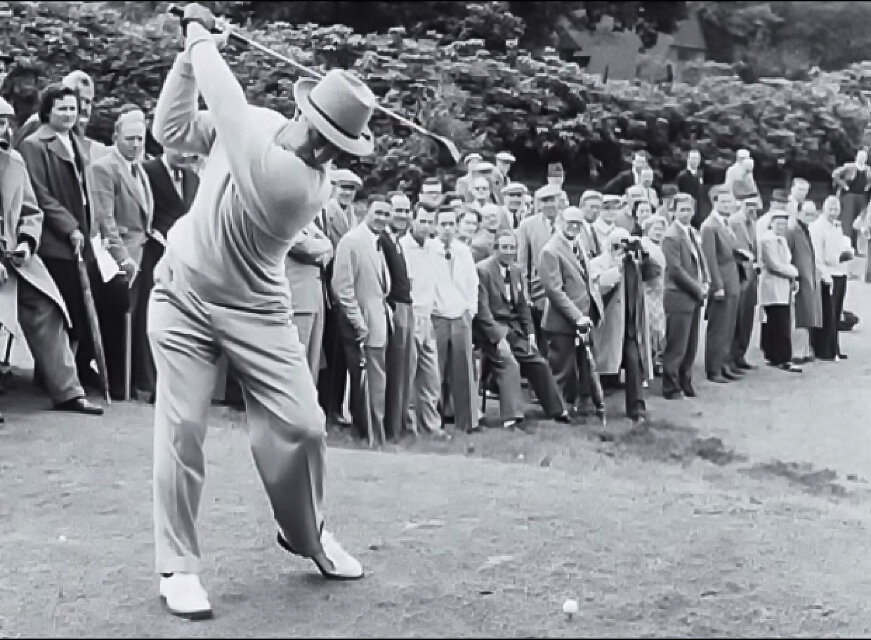
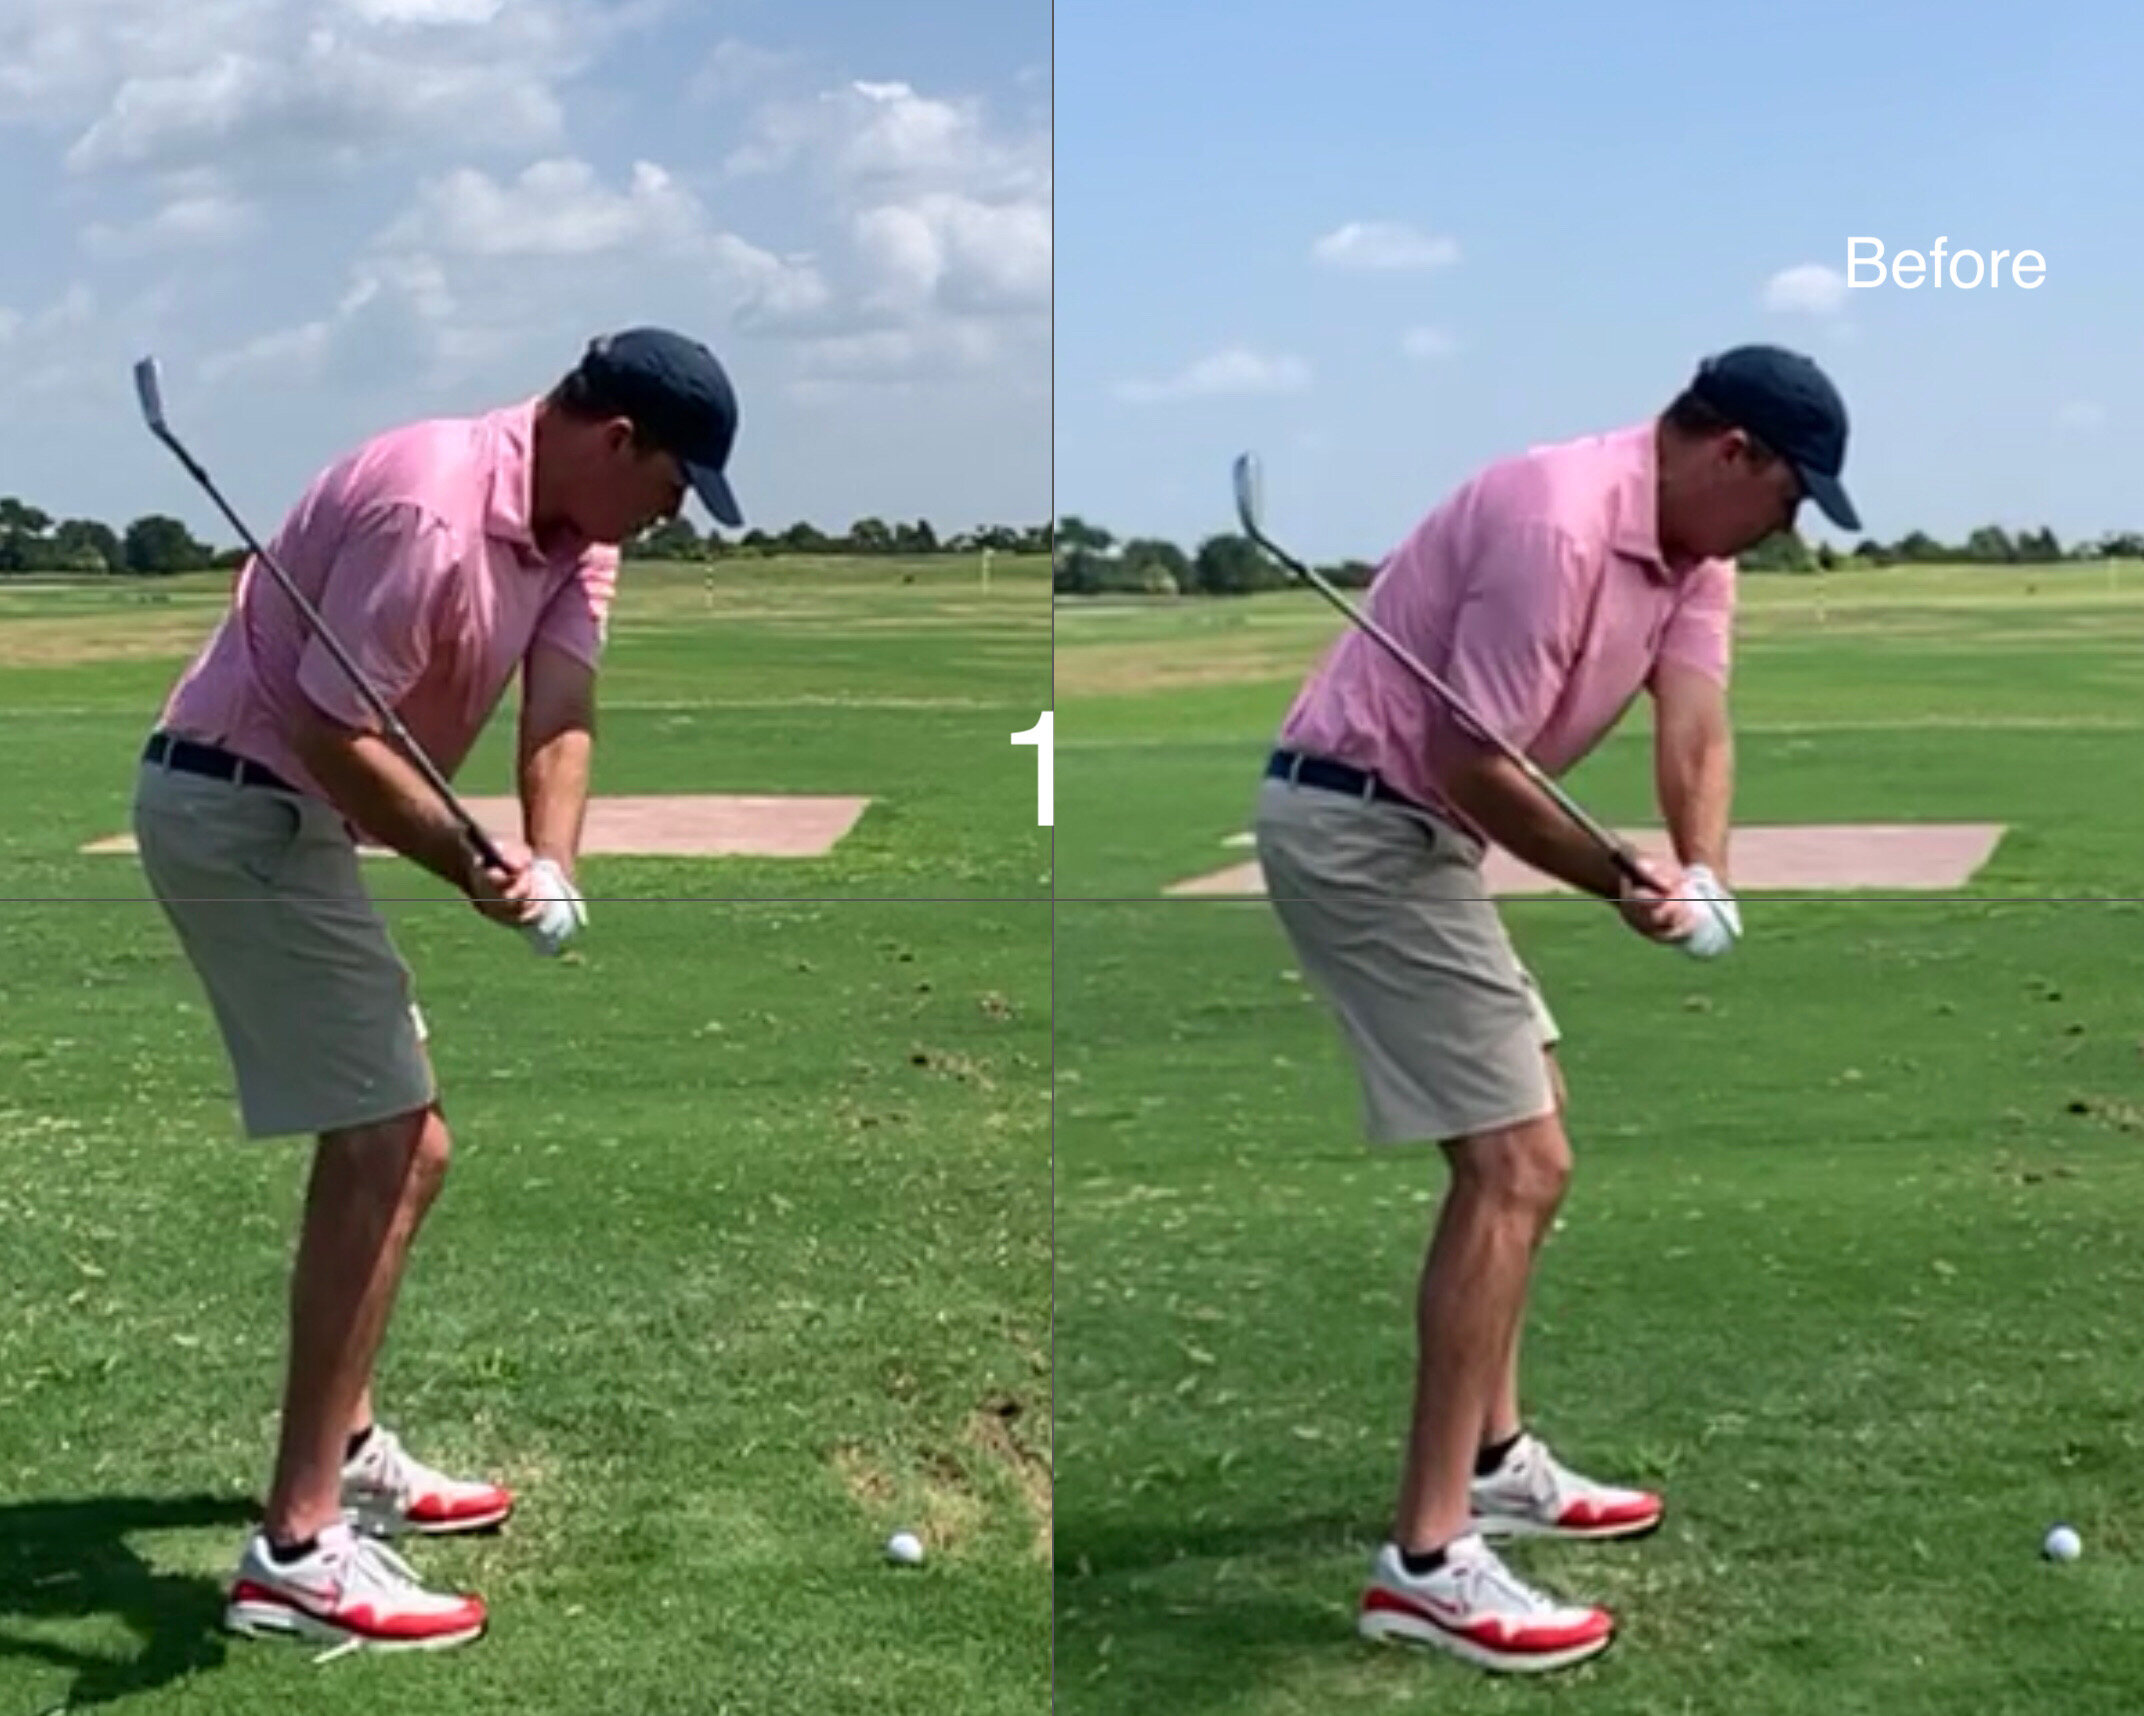
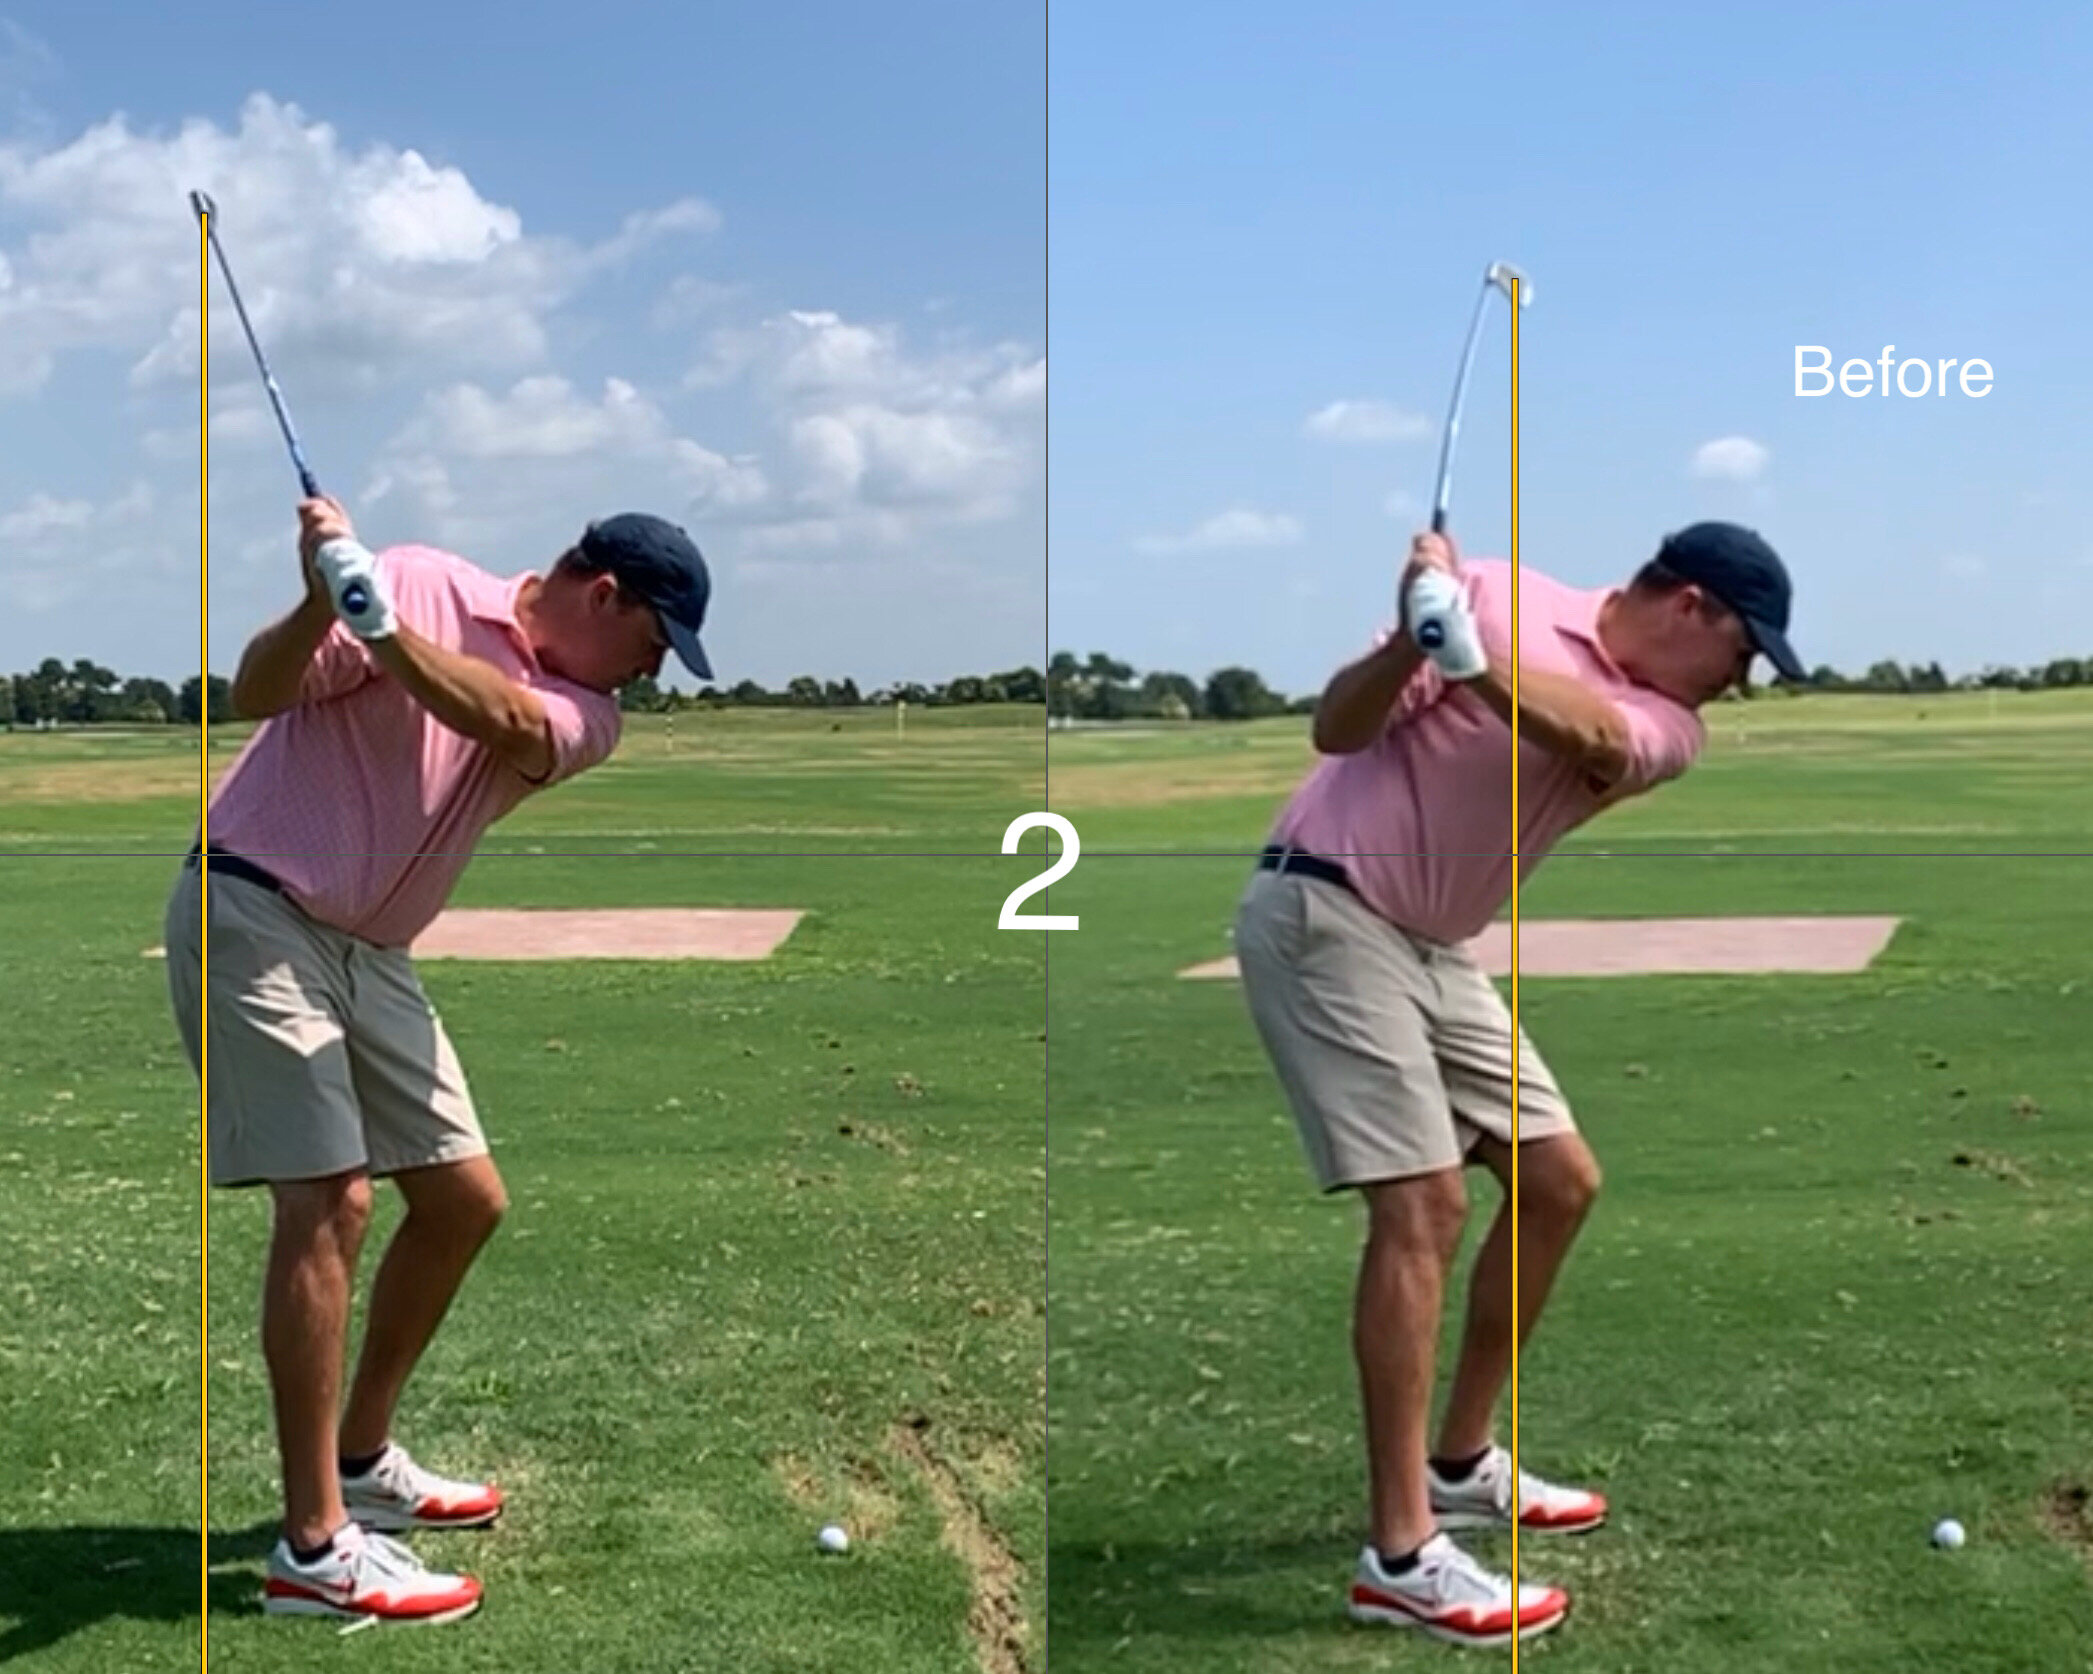
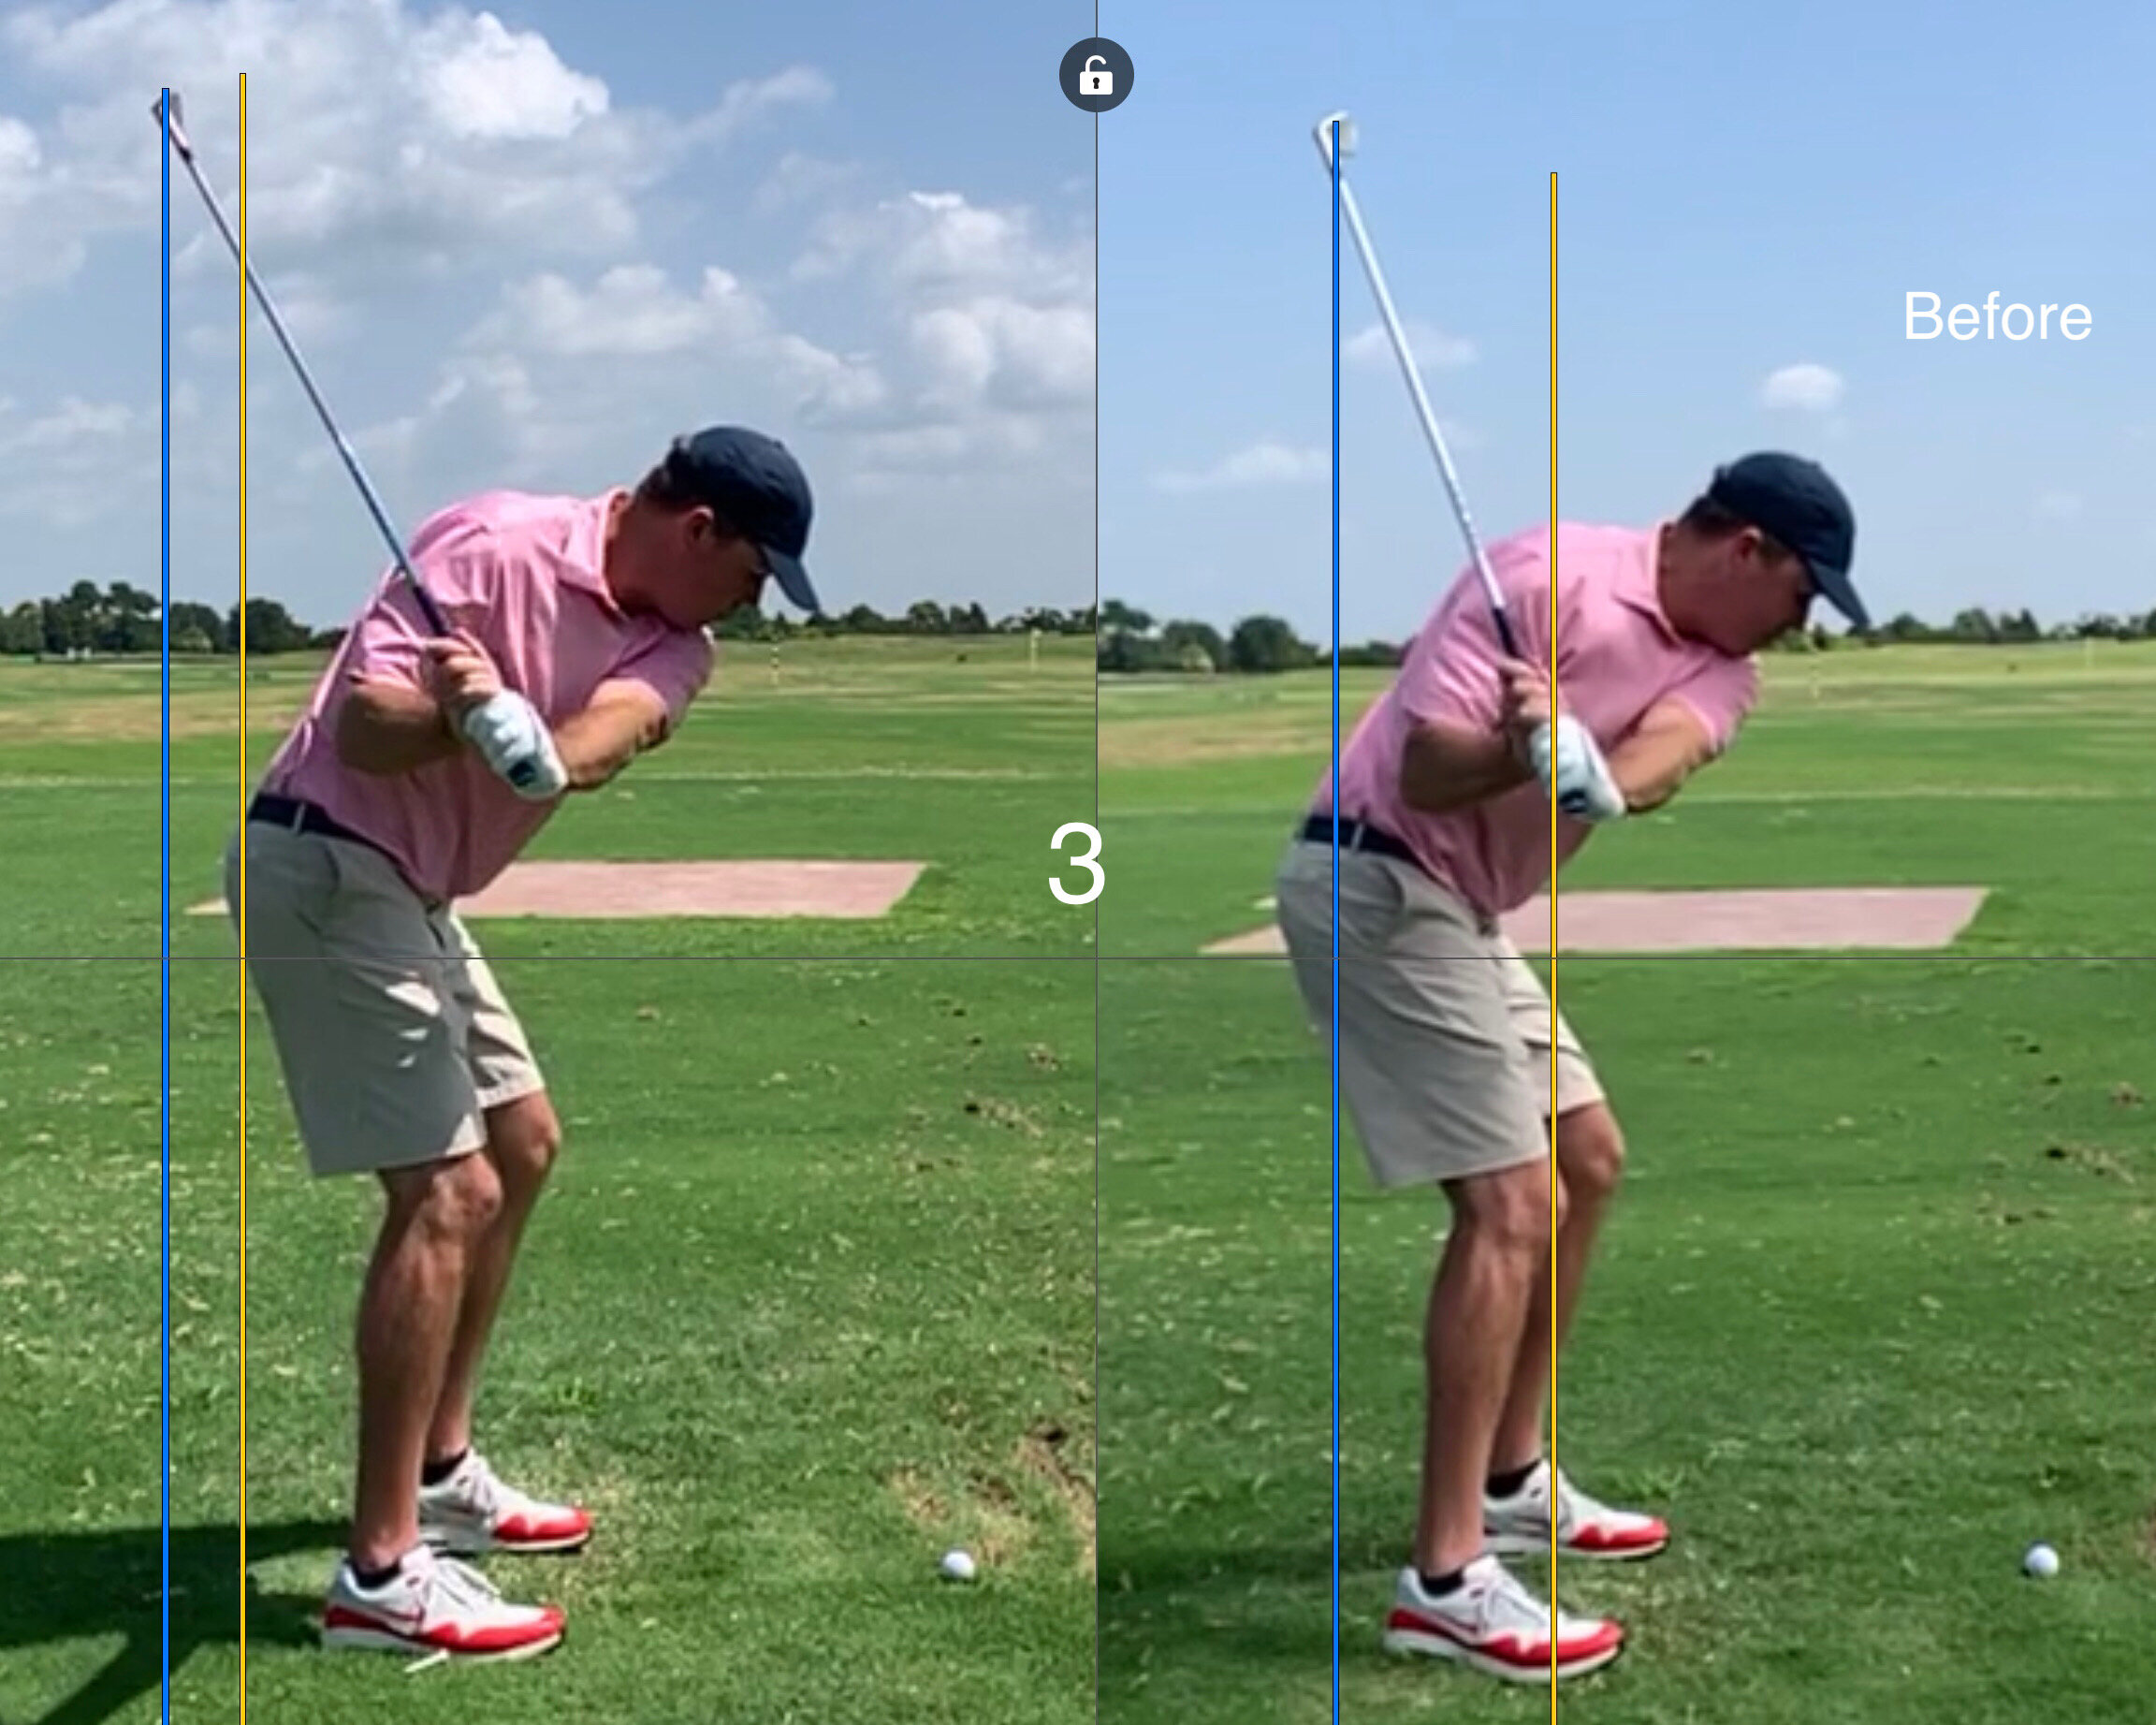
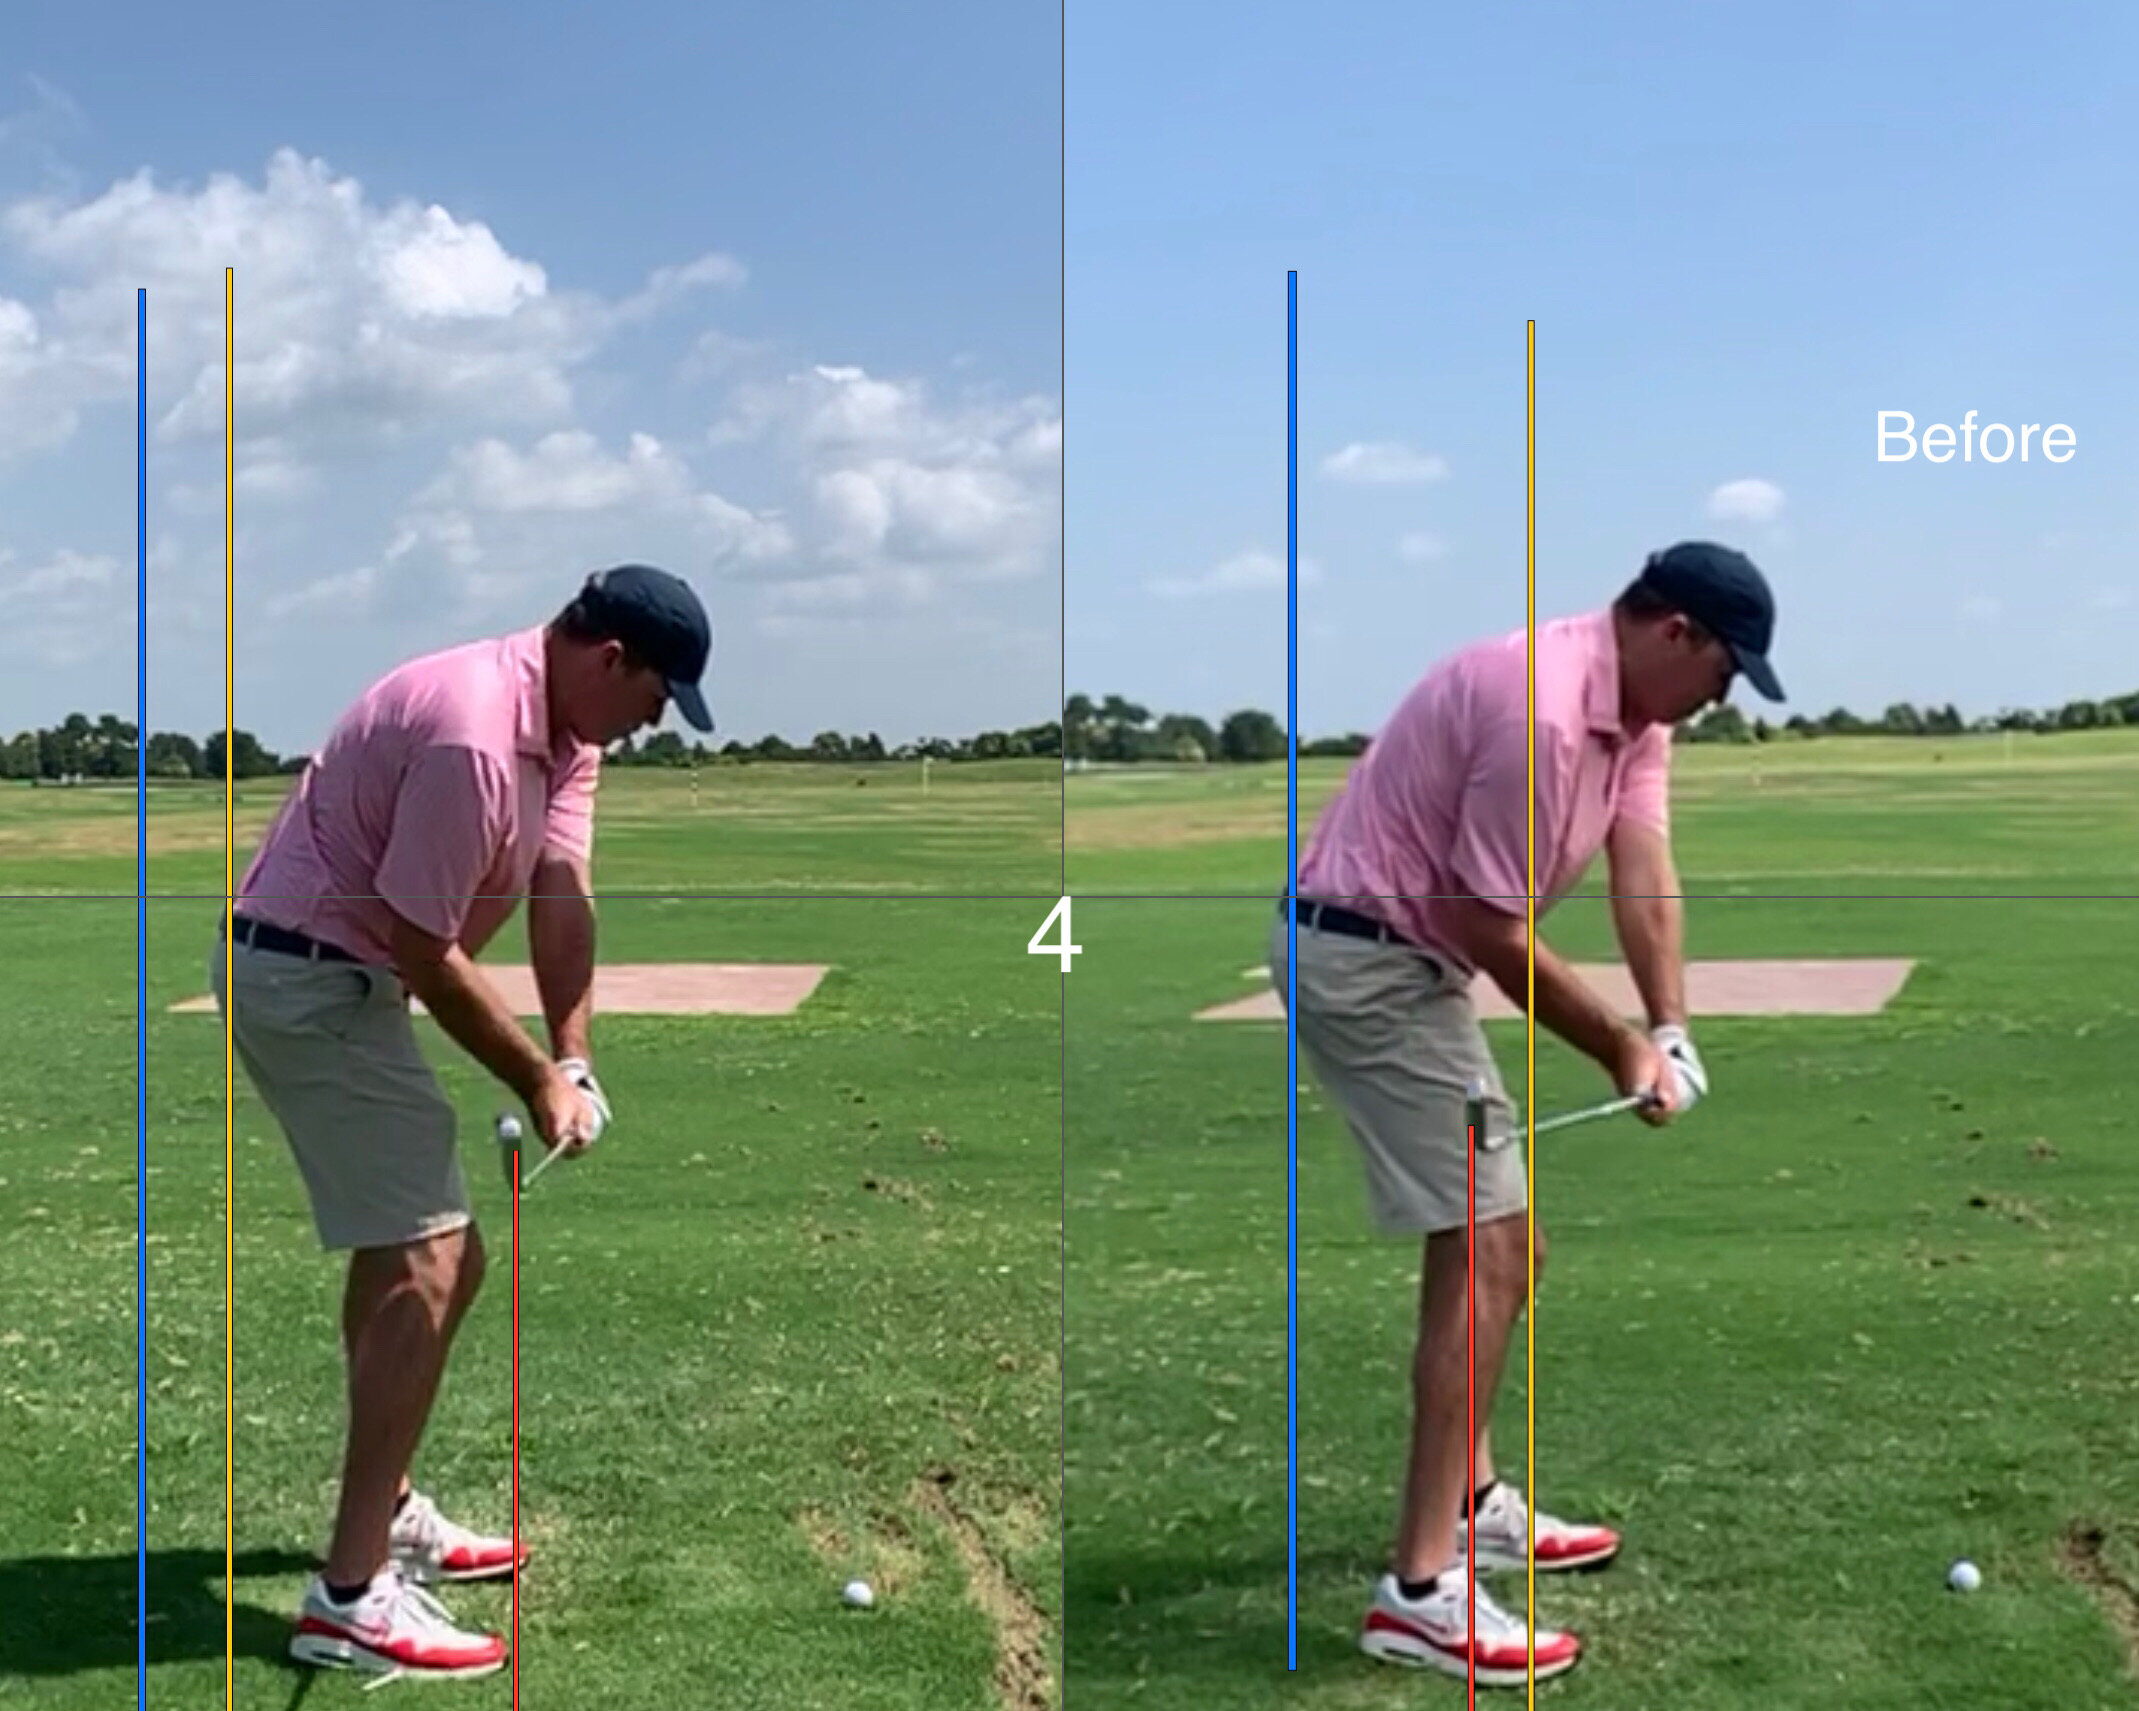
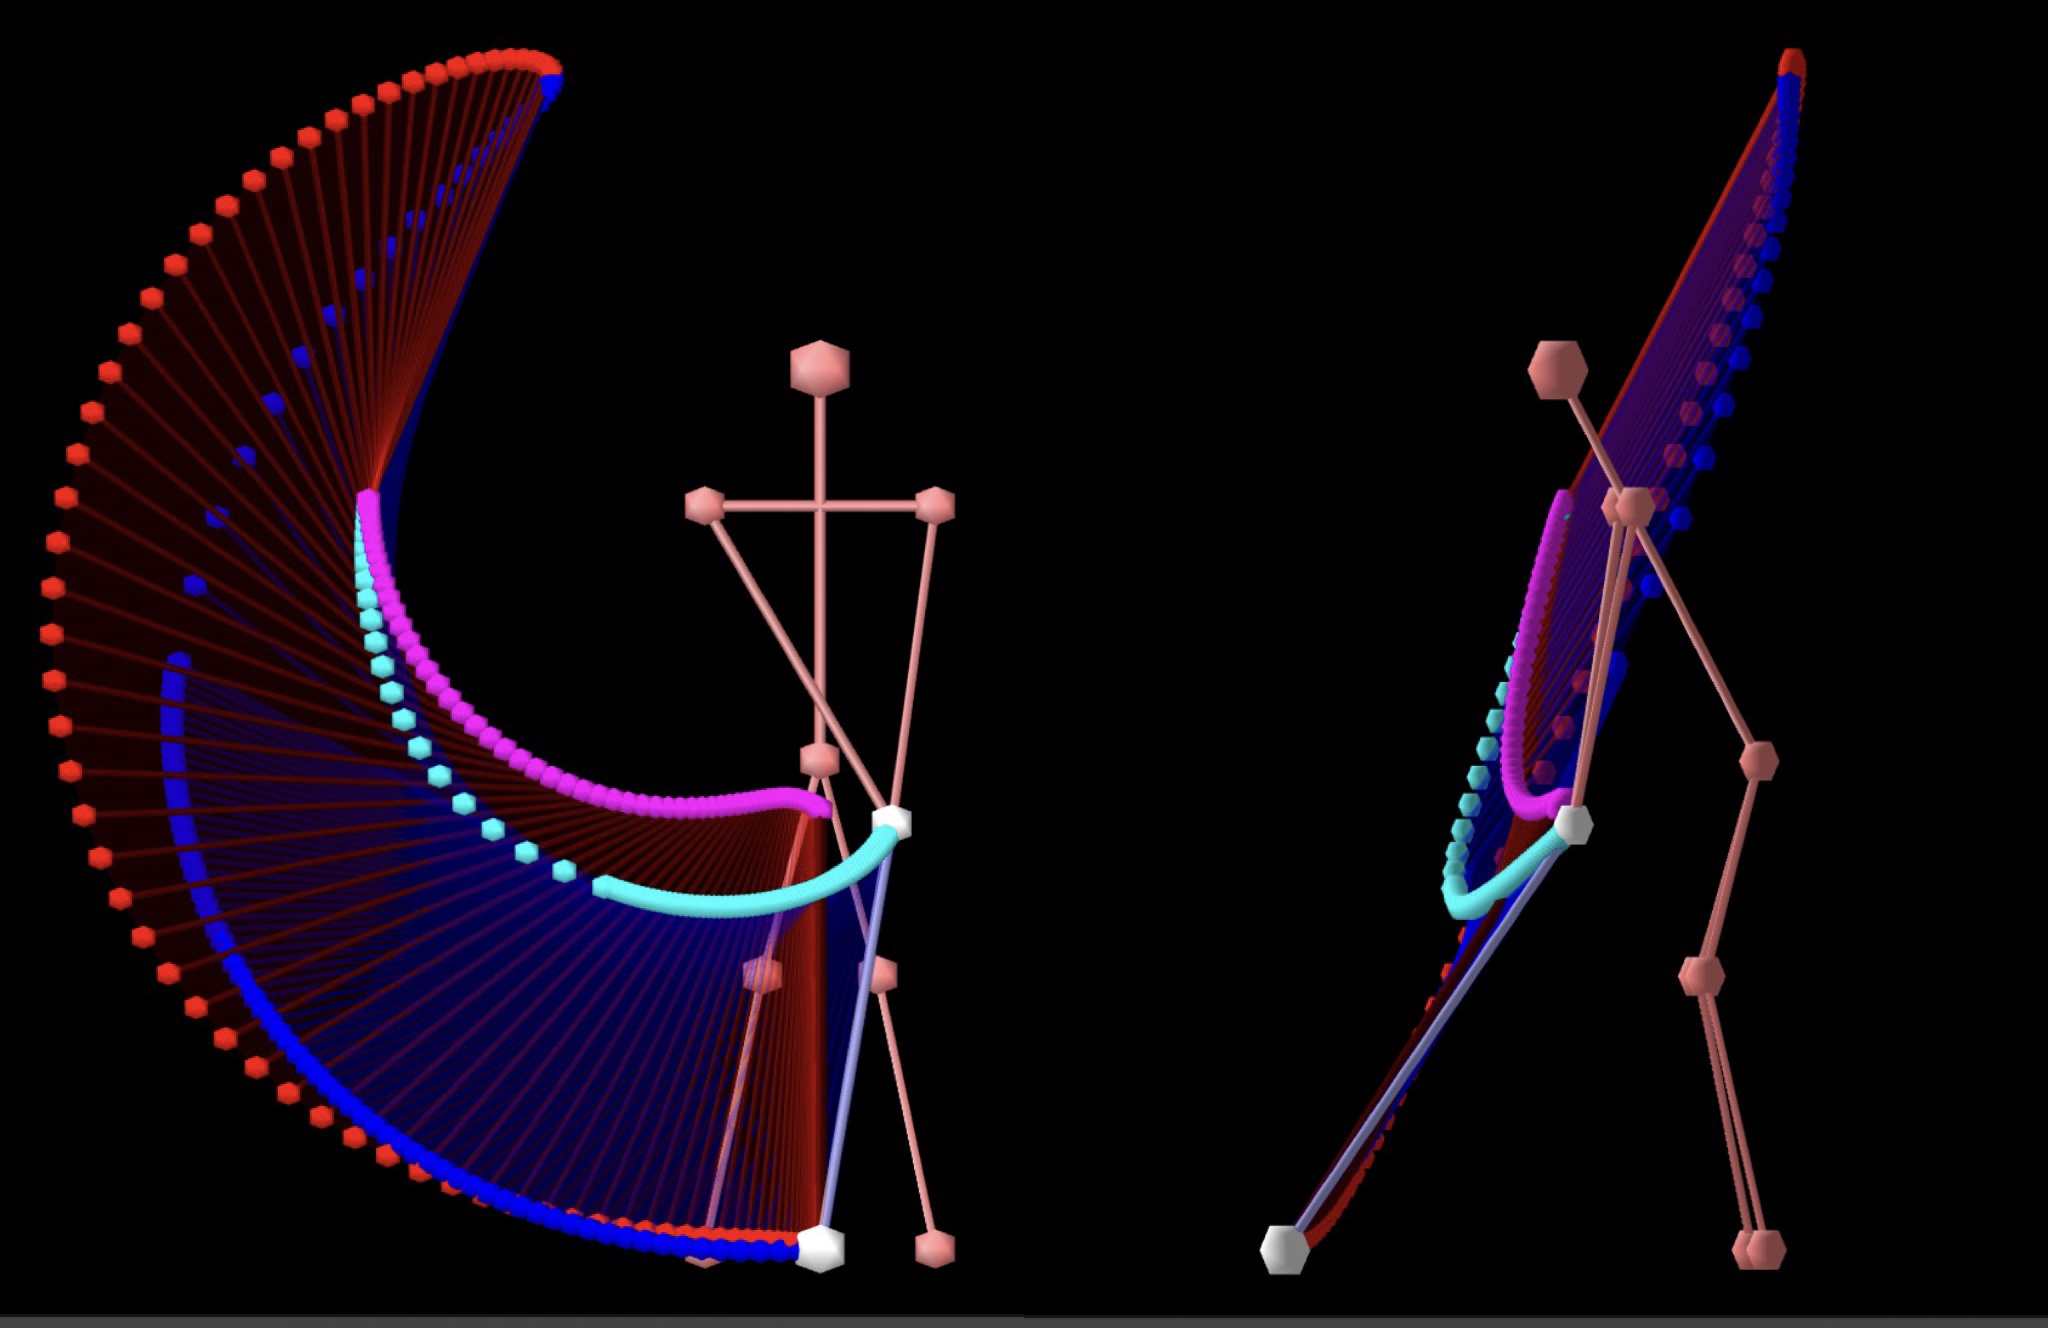
A Longer Backswing
The further you can make the handle travel going back, the more time you have to pump energy into the system. Make sure you do this one correctly as the arms need to remain fairly wide and extended for maximum handle travel in the backswing.
Intentional Practice
We must train our bodies to move faster and this is the best single way to educate your body and nervous system to move faster. You don’t need to overdo this, but a 20-25 ball set once a week will do wonders for your ability to get moving. And the best part, once you get faster, it’s very easy to maintain that increase in speed.

You have the ability to make the ball travel around 2.75 yards per MPH of clubhead speed when at peak efficiency. If you’re still looking for more distance the only way to get there is to work towards an increase in speed.
I hope this message inspires you to start putting the work in to hit the ball longer off the tee, because we are all better with a 9i in our hands than we are with a 7i in our hands. I have done it, and I know that with some motivation and a little effort, you can too.