How to Shallow the Shaft
/For most golfers this is a biggie! If they can manage to get the shaft to shallow or flatten in the early stages of the downswing their chances of drawing the ball, along with a consistently crisp strike are greatly improved.
There are a few key factors to implement that will firm up your ability to shallow the shaft in transition. Watch...
My three important keys are:
- A flat lead wrist at the top of the backswing. If you can shoot in the 60's this is not imperative, but it will make the job of flattening the lead wrist in transition and the downswing that much easier.
- Get the shaft either straight or laid-off at the top of the backswing. Where you point the handle ultimately determines where the shaft is angled and it's much easier to manage it this way.
- Allow the hands to travel out or in front of you slightly as you start down. Be careful you don't over do this, but there are few things worse than getting the hands tucked in behind you in the downswing.

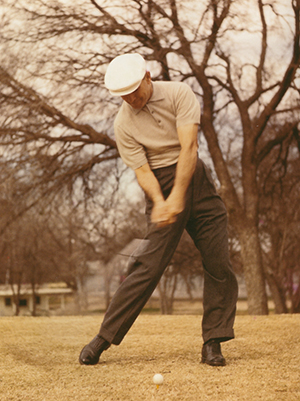
Woods, Trevino, Pettersson and Snead
In the above image Tiger displays a flat left wrist and a slightly laid-off shaft, Trevino has shallowed the shaft and has a flat lead wrist, Carl Pettersson really gets his hands to travel out at the start of the downswing and Snead follows suit. All positive swing elements to emulate.
I would recommend you start your quest to improve this important swing factor in front of a mirror. Get a feel for each of the three keys by watching them and "seeing" what they need to feel like and then you'll be free to head out to the practice ground.
This free website's biggest source of support is when you decide to book a lesson or golf school. You can contact me HERE. If you live in another state or country please consider making a purchase HERE or HERE. It will help your game in addition to helping me to keep adding to this free website. Thanks again for your support! Andrew.